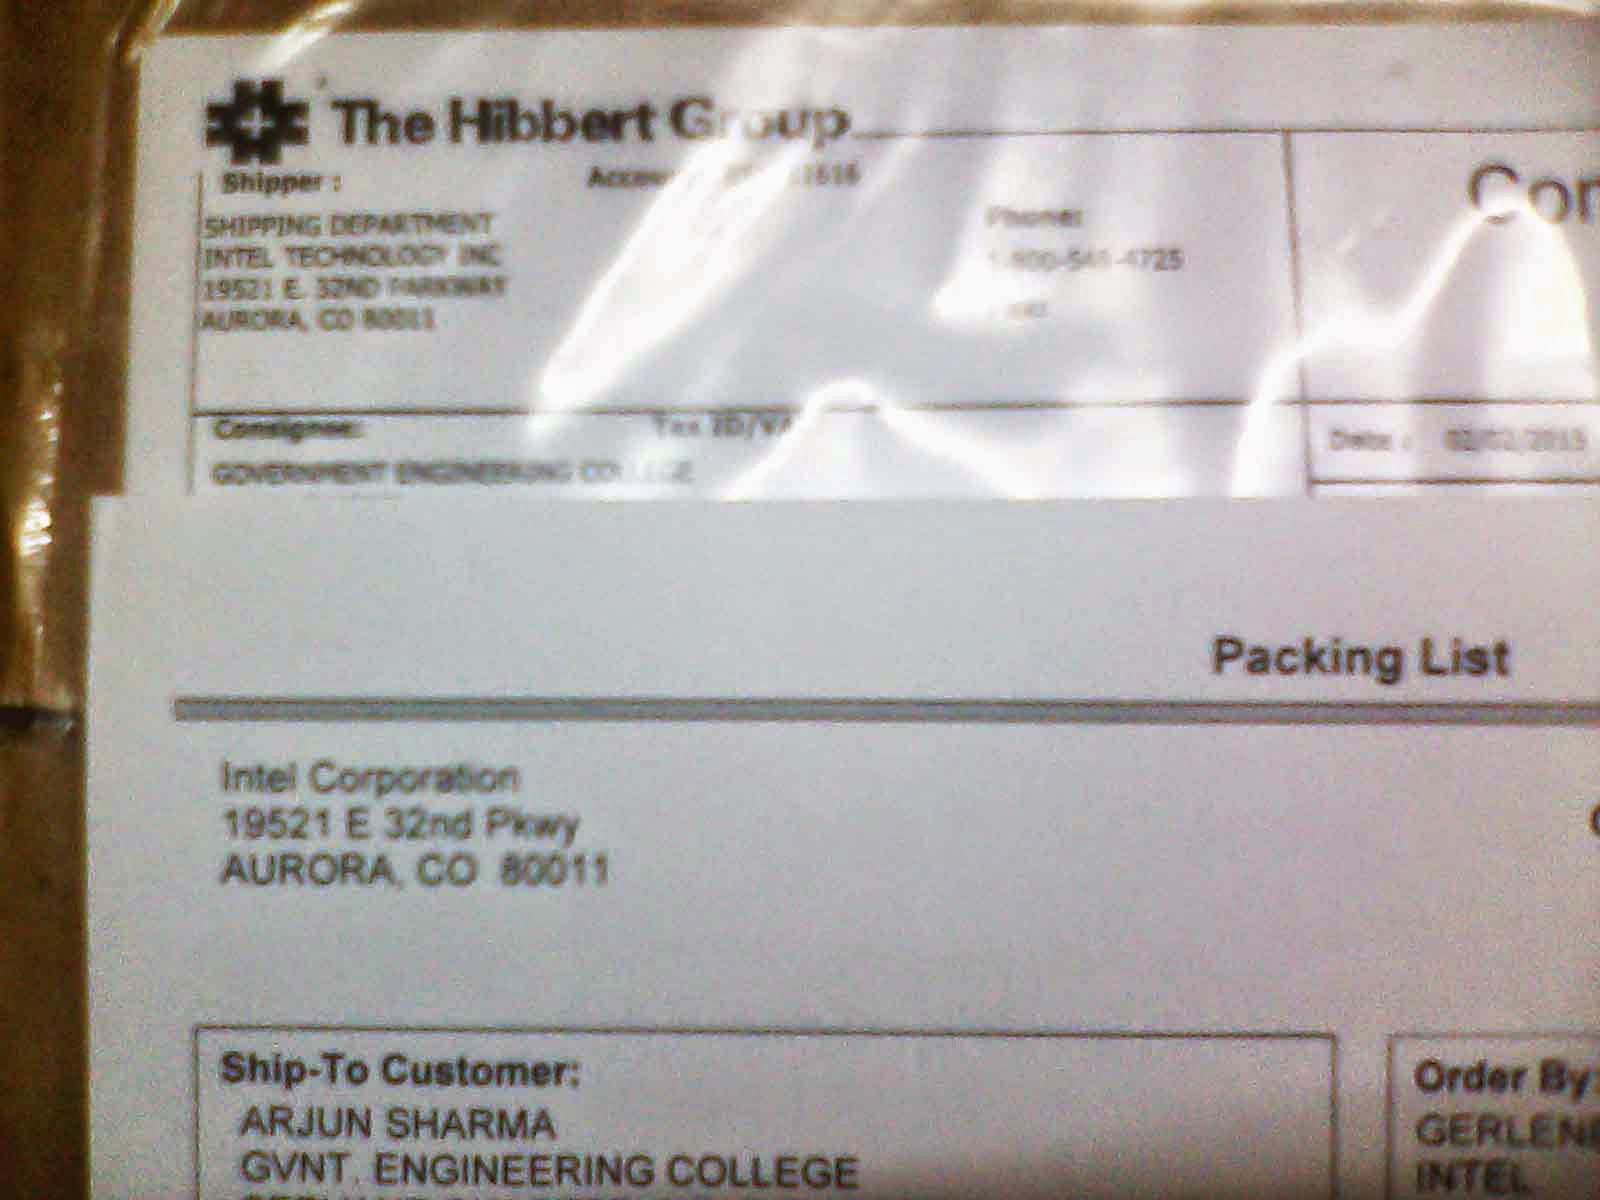
I received a free Intel IoT kit from Intel USA. I registered myself for this programme filled a form and shared my project idea. I gave full details of my project on a link provided by them and filled the working and future aspects of this project "Smart Automobile" using Intel Galileo development Board, which is my final year project. I never thought that they will select me for this kit. I registered there before my 7th semester examination around in November 2014. Now it is february 2015 when i am getting this kit. I am very happy to have this kit at my home. I was very excited from last week. I got a mail in the end of January about that kit and i could not believe at that time. After that day i got one another mail which was showing the tracking number of DHL express courier service. I called them and asked about the charges ;) he said it is completely free for you Intel has already paid for the shipment and other charges. It was in Denver-USA at that time. It took 4 days to finally reach at my home. from Denver-USA to UK-London to India-Mumbai and finally at my home. :) . I am really very excited to use it :) Thank You so much Intel Inc. USA. :)
This kit contains various sensors like temperature sensors, Light sensors, Angle rotation detection sensor, Touch sensor, Relay module, Sound intensity sensor, A buzzer module, push button switch module, Potentiometer module and a servo motor.
There is one RGB backlight Grove LCD and one common base to connect all this components and modules together. There are various cables like USB to UART , USB to MicroUSB, USB to 3.5mm Jack, 10mini 4 pin connectors. It has also 2 8 Gb micro sd cards with adaptor and these all things are placed in a very beautiful case. It is awesome. I am very excited to use these all with my Intel Galileo board. These components and modules can be used directly with Arduino board as it is made specially for the Arduino board. This kit has a manual which describes all the components and gives brief explanation about interfacing with the board.
Links provided in the manual are as follows :
Step-by-Step guide in the "First Date with Arduino" section of the Grove-Starter kit's wiki page
http://www.seeedstudio.com/wiki/Main_Page
Github Code file is uploaded on the following link :
github.com/Seeed-Studio/Sketchbook_Starter_Kit_V2.0